
Diving into the world of exotic delicacies, we’ve decided to tackle a dish that’s as intriguing as it is polarizing: balut. This Filipino specialty, a fertilized duck egg with a nearly-developed embryo inside, is a street food staple known for its rich flavors and unique texture. It’s a dish that evokes curiosity and, admittedly, a bit of apprehension for the uninitiated. But fear not, we’re here to guide you through the surprisingly simple process of boiling balut, turning apprehension into appreciation.
Boiling balut is an art in itself, requiring just the right timing to achieve the perfect balance of tender meat and flavorful broth. Whether you’re a seasoned balut eater or a curious foodie looking to expand your culinary horizons, we promise this guide will make your balut-boiling journey a breeze. Let’s embark on this culinary adventure together, shall we?
What Is Balut?
Balut is a traditional Filipino delicacy that’s known around the world for its distinctive taste and texture. At its core, balut is a fertilized duck egg that has been incubated for about 14 to 21 days before being hard-boiled. Inside, you’ll find a partially developed duck embryo alongside yolk and liquid. What makes balut a stand-out is the combination of creamy yolk, tender embryo, and savory soup that bursts with every bite.
This delicacy is not only celebrated for its unique flavor profile but also for its high protein content and array of vitamins, making it a nutritious snack or meal. Often enjoyed with a pinch of salt, vinegar, or chili garlic sauce, balut is a versatile dish that fits various taste preferences. Whether you’re an adventurous eater seeking to explore Filipino cuisine or a culture enthusiast aiming to understand traditional foods, boiling and savoring balut is an experience not to be missed.
Essential Ingredients
When venturing into the experience of boiling and enjoying balut, the essential ingredients list is surprisingly short yet crucial for the authenticity and richness of flavor that this Filipino delicacy is celebrated for. Here’s what you’ll need to get started:
- Balut eggs: Typically, you’ll need as many as you plan to serve. Balut eggs are fertilized duck eggs that are incubated for about 14 to 21 days before they are ready for boiling and consumption.
- Water: Enough to fully submerge all the balut eggs in a pot.
- Salt: A pinch of salt per egg is recommended if you prefer to season the water for an enhanced flavor.
- Vinegar and chili garlic sauce (optional for serving): While not part of the boiling process, these are traditional accompaniments that elevate the balut eating experience.
Keep in mind, the simplicity of the ingredients belies the complexity of tastes and textures you’re about to savor. Each balut egg, when boiled to perfection, offers a blend of savory broth, tender meat, and creamy yolk, creating an unparalleled culinary adventure.
Recommended Tools and Equipment
Boiling balut to perfection requires a bit more than just a pot and water. It’s about choosing the right tools to ensure that each egg comes out tender and flavorful. Here, we’ll guide you through selecting the best equipment to make your balut cooking experience seamless and enjoyable.
Choosing the Right Pot
The key to boiling balut eggs perfectly lies in the size and material of the pot you use. Opt for a medium to large pot, ensuring there’s ample space for the eggs to be fully submerged and to move around slightly. This helps in cooking them evenly. Stainless steel or enamel-coated pots are ideal choices because they distribute heat uniformly, minimizing the risk of eggs cracking due to sudden temperature changes. Additionally, make sure the pot has a tight-fitting lid. This is crucial for maintaining a consistent temperature during the cooking process, which is essential for achieving the perfect balance of tender meat and creamy yolk in your balut.
Other Necessary Utensils
Aside from the pot, a few other utensils will make the process of boiling and serving balut much more manageable. First, a slotted spoon is necessary for gently placing the balut in the boiling water and safely removing them once done. This tool helps to prevent any damage to the eggs caused by dropping them into the pot or picking them out.
Next, have a kitchen timer or use the timer on your phone. Timing is everything when boiling balut, as overcooking can make them tough and undercooking could mean a less enjoyable texture. A precise countdown helps in achieving that perfect doneness.
Finally, serving balut often calls for a small bowl for the sauce—usually a simple mixture of vinegar, salt, and chili—and a plate for the shells. While not strictly necessary for the cooking process itself, these serving tools enhance the overall experience of enjoying balut, making it easier and more pleasurable to dip the tender meat into the sauce and discard the shells.
Equipping yourself with these tools and utensils ensures a smoother cooking process, letting you focus on the unique and delicious experience of preparing and savoring balut.
Steps to Boil Balut
After selecting the right tools and equipment, let’s dive into the process of perfectly boiling balut to enjoy its rich flavors and unique texture. We’re here to ensure that you can execute this traditional Filipino delicacy flawlessly in your kitchen.
Preparing the Balut
Before we bring any heat into the equation, preparation is key. Start by carefully inspecting each balut egg. You’ll want to ensure there are no cracks or openings in the shell. A full intact shell is crucial for boiling as it protects the developing embryo inside from being contaminated by water.
Next, bring your balut eggs to room temperature if they have been refrigerated. This step is important to prevent the shells from cracking when introduced to hot water. Simply set the eggs out on the counter for about 15 to 20 minutes before boiling.
- Fill Your Pot: Choose a pot that’s large enough to accommodate all the balut eggs you plan to boil, offering plenty of room for water to circulate. Fill it with enough water to fully submerge the eggs. To enhance the flavor, consider adding a pinch of salt to the water.
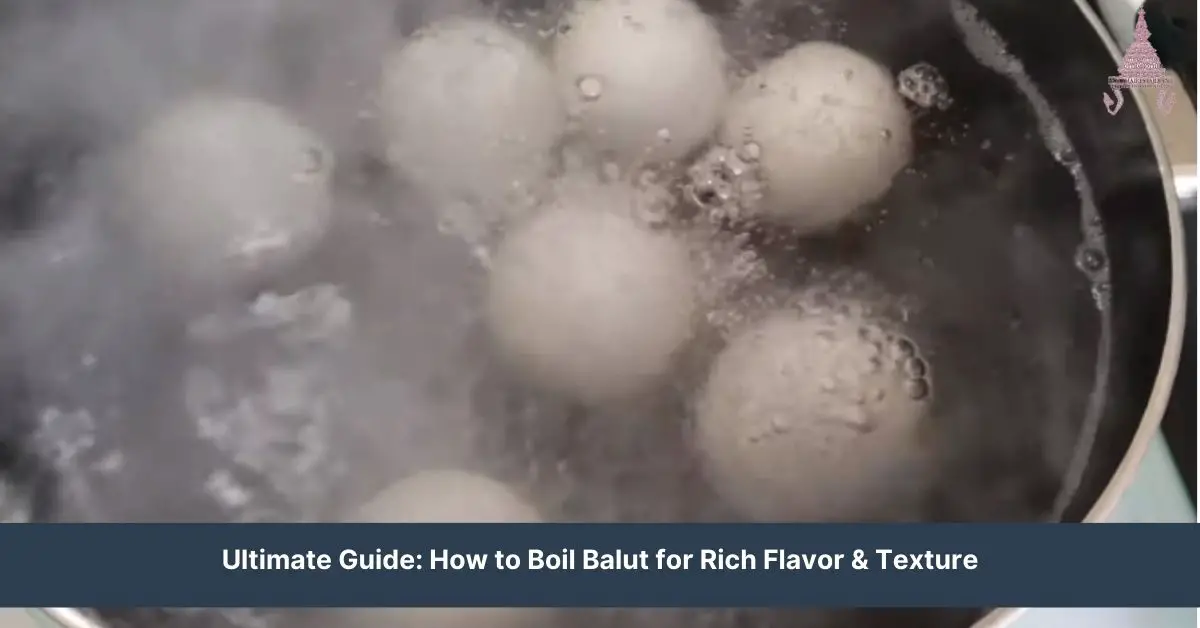
- Bring to a Boil: Place the pot on the stove and turn the heat to high. Wait until the water reaches a rolling boil. This is crucial for ensuring the water is hot enough to cook the balut thoroughly.
- Introduce the Balut: Using a slotted spoon, gently lower each balut egg into the boiling water. This method helps prevent the shells from cracking upon impact with the hot water.
- Set the Timer: Once all the balut eggs are in the pot, reduce the heat to medium-low. This ensures that the water maintains a gentle boil, which is key for cooking the balut properly without overcooking. Set a timer for 20 to 30 minutes depending on your preference for how cooked you like the embryo and yolk. A shorter time will yield a softer, runnier yolk, while a longer time provides a firmer texture.
- Serving: When the timer goes off, use the slotted spoon to carefully remove each balut from the water. Place them in a bowl or directly onto serving plates. Serve hot with a side of rock salt, vinegar, or chili garlic sauce for dipping.
Remember, enjoying balut is an experience that engages all senses. Cracking the shell open, sipping the savory broth, and savoring the tender, flavorful meat of the duck embryo is a journey through texture and taste. With these steps, we hope you’ll find both the cooking and the consumption of balut to be a delightful culinary adventure.
Serving Suggestions
After perfectly boiling your balut, the next exciting step is serving it. Here’s how to elevate the experience with traditional touches and personal flair.
Traditional Accompaniments
In the Philippines, balut is more than just a delicacy; it’s a culinary experience. Traditionally, it’s enjoyed under the moonlight, accompanied by a cold drink which often is a beer. The contrast between the warm, savory egg and the cold, crisp drink prepares the palate for a burst of flavors. For a more wholesome meal, balut can be paired with rice or a simple salad on the side. These companions balance the richness of the balut, making for a well-rounded dining experience.
Condiments and Seasonings
The true essence of enjoying balut lies in its condiments and seasonings. A pinch of salt is the most basic and essential, bringing out the natural flavors locked within the egg. For those who prefer a tangy zing, a dash of vinegar or a squeeze of calamansi (a Philippine lime) is highly recommended. To add some heat, a spoonful of chili garlic sauce does wonders. Some enthusiasts also enjoy experimenting with different sauces and seasonings, such as soy sauce or fish sauce, to find that perfect personal preference. These condiments not only enhance the taste but also allow for a customizable eating experience, making each bite of balut uniquely satisfying.
Safety Tips
Boiling balut, a beloved Filipino delicacy, requires not just skill but also mindfulness of safety to ensure a wholesome eating experience. Let’s share some essential safety tips related to handling, consumption, and storing leftovers to enjoy balut with peace of mind.
Handling and Consumption
Handling balut requires care to avoid any health risks associated with consuming eggs. First, always start with eggs that are fresh and from a reliable source. This minimizes the risk of salmonella or other foodborne illnesses. Before boiling, inspect each egg for cracks or unusual odors. A cracked egg should be discarded as bacteria can easily penetrate and contaminate it.
When boiling balut, ensure it is cooked thoroughly. The recommended boiling time is at least 20 to 30 minutes. Proper cooking not only enhances the flavor but also kills any harmful bacteria present. Use a slotted spoon to carefully remove the eggs from the boiling water, preventing any burns or spills.
Before consumption, clean your hands thoroughly with soap and water. Consider using clean utensils to crack open the eggshell rather than your hands to reduce direct contact. If you prefer to season your balut with condiments, make sure they are fresh and have been stored properly.
Storing Leftovers
Storing leftovers properly is crucial to enjoying balut safely at a later time. If you find yourself with boiled balut that hasn’t been consumed, it’s important to cool them quickly to prevent bacterial growth. Place them in a clean, airtight container and refrigerate immediately. Boiled balut can be stored in the refrigerator for up to 24 hours. Beyond this, the risk of spoilage and foodborne illness increases.
Before indulging in leftover balut, reheating until steaming hot is vital; this helps to kill any bacteria that might have developed while the eggs were stored. Avoid leaving boiled balut at room temperature for more than two hours as bacteria grow rapidly between 40°F and 140°F.
Additional Tips for Perfect Balut
Boiling balut to perfection is an art that we’ve fine-tuned over time. Following our detailed boiling guide will get you great results, but to elevate your balut experience even further, we have compiled some insider tips that guarantee a perfect balut every time.
Choosing the Right Eggs
Selecting the right balut eggs is paramount. Look for eggs with a clear, glossy shell without any cracks. Freshness is key, so always check the date of packaging if available. Balut eggs are typically aged for 14 to 21 days before they are ready to eat. Your choice depends on your preference for the level of development of the duck embryo. Younger eggs (around 14 days) have less developed features and are softer, while older eggs (closer to 21 days) offer a more pronounced texture and flavor.
Water Temperature and Cooking Time
Start with room temperature water to avoid shocking the eggs, which could lead to cracking. Gently place the balut eggs in the water, ensuring they are completely submerged. For the ideal texture, bring the water to a boil and then lower it to a simmer. Cooking them at a rolling boil the entire time can make the eggs rubbery.
The cooking time varies based on personal preference:
- For a softer yolk and less developed embryo, cook them for about 15 to 20 minutes.
- For a firmer texture and fully developed features, extend the cooking time to 25-30 minutes.
After Cooking Care
Once the balut eggs are done cooking, plunge them into cold water. This stops the cooking process immediately, preserving the delicate texture of the balut. It also makes peeling the eggshell easier when you’re ready to enjoy them.
Serving and Enjoyment
Serve balut warm to truly appreciate its flavors and textures. A common way to enjoy balut is to crack the shell on the rounded end, peel a small hole, and sip the savory broth before peeling off the rest of the shell to consume the yolk and embryo. Seasoning with a pinch of salt, a drizzle of vinegar, and a dash of chili garlic sauce enhances the taste and provides a balanced flavor profile.
Conclusion
We’ve walked through the journey of preparing balut, from selecting the right eggs to the final touches that make this delicacy truly stand out. By now, we hope you’re equipped with the knowledge to not only boil balut to perfection but also to serve it in a way that pays homage to its rich cultural roots. Remember, it’s all about embracing the unique flavors and textures, seasoned just right with a dash of salt, vinegar, and chili garlic sauce. And let’s not forget the importance of safety, from handling to consuming and storing any leftovers. Armed with these tips, we’re confident you’ll enjoy the balut experience to its fullest. Happy cooking, and more importantly, happy eating!
Related Posts:
- Ultimate Guide: How to Boil Balut for Rich Flavor & Texture
- Easy Bun Bo Hue Instant Pot Recipe: Authentic Flavors at Home
- Ultimate Guide to Making and Enjoying Banh It La Gai at Home
- Ultimate Guide to Perfect Ca Nuong Da Gion: Marinade to Leftovers
- Easy Chanh Muoi Recipe: How to Make Salted Lemonade at Home
- Ultimate Hong Kong Macaroni Soup Guide: Preparation to Storage
- Ultimate Guide to Perfect Homemade Sriracha Sauce: Tips & Tricks
- Ultimate Mì Hoành Thánh Xá Xíu Guide: Prep, Serve, Store
- Pad Phet Gai: A Spicy Thai Chicken Recipe, Storage, and Reheating Guide
- Juicy Toyomansi Pork Chops: Recipe & Serving Tips
- Ultimate Guide to Vietnamese Baked Catfish: Marinating, Cooking, & Serving
- Ultimate Vietnamese Mayonnaise Banh Mi Recipe & Pairing Guide